 Vincent Van Gogh once said, “Keep your love of nature, for that is the true way to understand art more and more.”
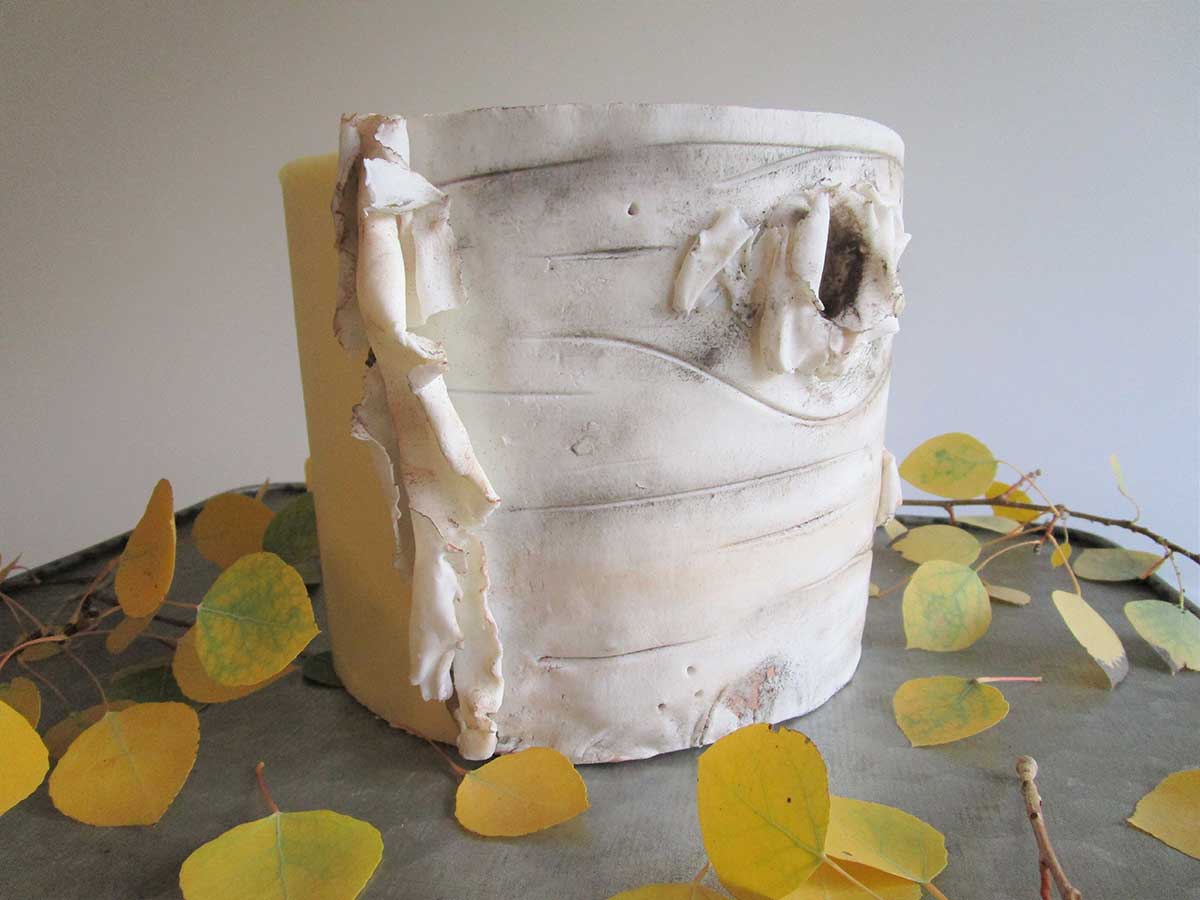
Birch cakes are a popular natural design that can be created on buttercream, fondant or modeling chocolate. This asymmetrical design, is created with a two-tone wrap to mimic the inner and outer bark that naturally falls off and curls as the tree grows. It could also be adjusted to create an Aspen tree by making the bark slightly rougher and eliminating the peeling sections.
Come along my fellow cake artists, let’s embrace nature and get started!
Materials:
6” Iced Cake
12 oz Modeling Chocolate (MC)
Food Coloring (Brown, Ivory & Avocado)
Coffee Colored Petal Dust &/or Cocoa Powder
Rolling Pin & Pasta Roller
Dresden & Ball Tool
X-ACTO Knife
Small Foam Board
Paint Brushes
Steps:
Vincent Van Gogh once said, “Keep your love of nature, for that is the true way to understand art more and more.”
Birch cakes are a popular natural design that can be created on buttercream, fondant or modeling chocolate. This asymmetrical design, is created with a two-tone wrap to mimic the inner and outer bark that naturally falls off and curls as the tree grows. It could also be adjusted to create an Aspen tree by making the bark slightly rougher and eliminating the peeling sections.
Come along my fellow cake artists, let’s embrace nature and get started!
Materials:
6” Iced Cake
12 oz Modeling Chocolate (MC)
Food Coloring (Brown, Ivory & Avocado)
Coffee Colored Petal Dust &/or Cocoa Powder
Rolling Pin & Pasta Roller
Dresden & Ball Tool
X-ACTO Knife
Small Foam Board
Paint Brushes
Steps:
- Color 6oz MC light tan – 6 drops of Ivory, 2 Brown, 1 Avocado
- Measure the cake height and determine how far you want the wrap to go around the cake. Generously dust surface with corn starch or powdered sugar and roll out a 1/16” thick rectangle that is 1/4” taller than cake and the desired width. Using a ruler cut the top and bottom edge. Leave the sides as raw edges & set aside
- Roll white to the same dimensions, but roll it slightly thinner and wider.
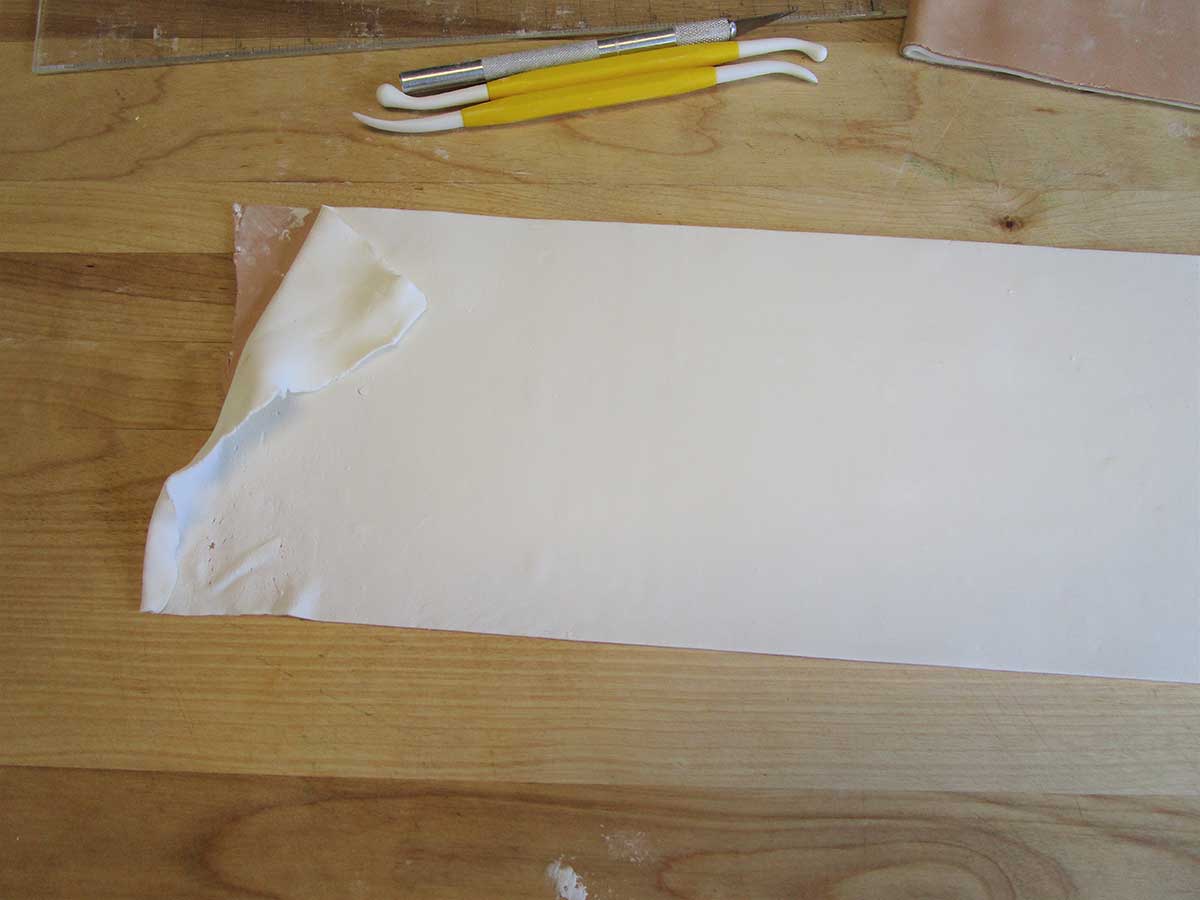
- Using a paintbrush, lightly wet the top of the tan rectangle with water, avoiding the right and left edges. Place the white on top of tan and cut the top and bottom edges to match.
- Roll several random pieces on the smallest setting of pasta roller to create peeling layers. If you do not have a pasta roller, use a rolling pin, ball tool and foam to thin and fray edges
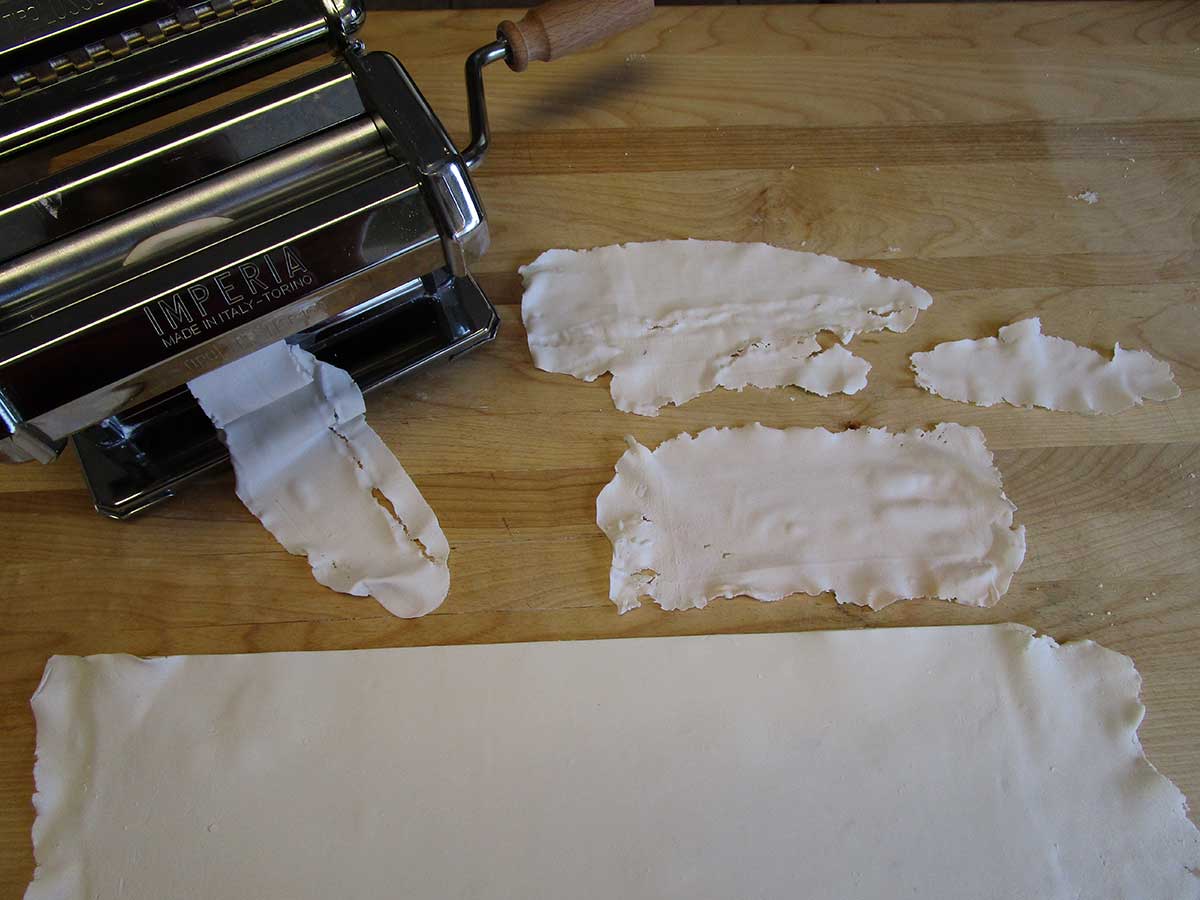
- Use ball tool to thin side edges of the white layer on foam board. Then tear and gently roll them up, adding depth with several peeling layers in between the tan and white layer.
- Add knots by placing a nickel to quarter size ball of tan underneath. Using fingers to form them into desired shape and cut away top layer of white from center. Gently tear peeling layers and attach around the edges of knots.
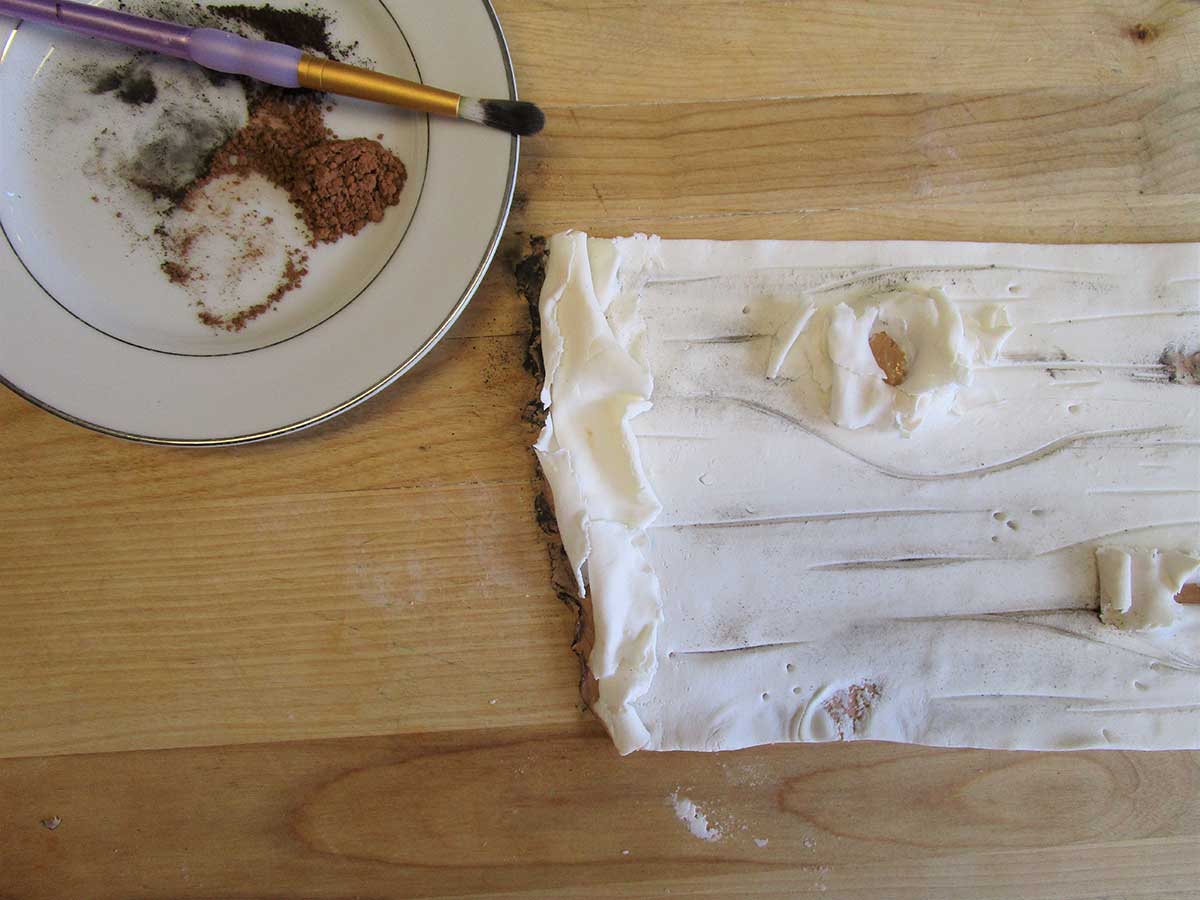
- Add in horizontal lines and dots with Dresden tool & dust with a small fluffy paintbrush
- Attach to the side of your cake with a small amount of water
Share tips, start a discussion or ask other students a question. If you have a question for an expert, please click here.
Already a member? Sign in
No Responses to “Birch Bark Cake”